
How to Prep a Room for Painting: Tips from Columbus, OH Pros
- August 6, 2026
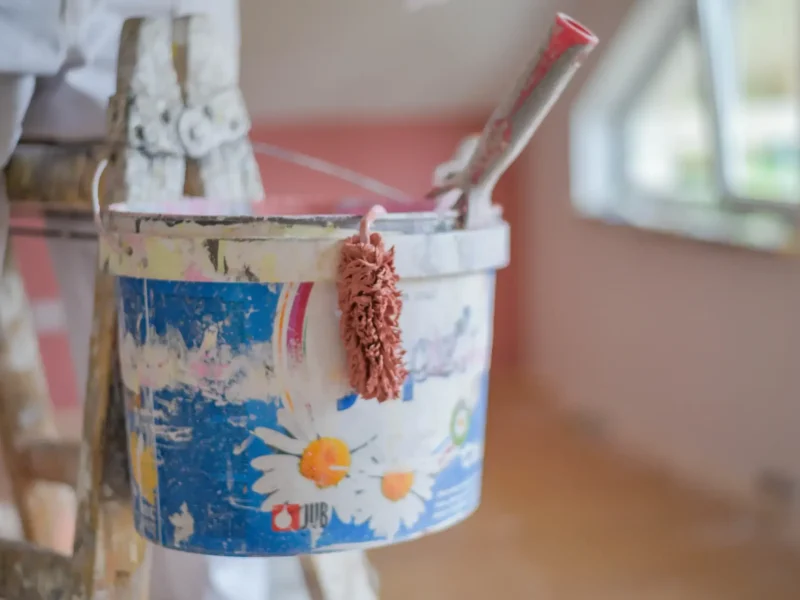
A fresh coat of paint can completely change the feel of a room — but how long that paint job looks good depends far less on the paint itself than on what happens before the first brush stroke. Skipping or rushing the prep stage is the single most common reason a paint job starts to peel, show brush marks, or look uneven within a year of completion.
At Beltran Tiles LLC, painting is one of the core services we provide for homeowners throughout Columbus, OH alongside tile, drywall, and carpentry work. Here’s what proper room preparation actually looks like from the professionals who do it every day.
Clear and Protect the Space
Before any prep work begins, the room needs to be set up in a way that protects everything that isn’t being painted — and gives the crew enough room to work efficiently.
- Move furniture out of the room entirely when possible, or push it to the center and cover it with drop cloths
- Remove wall plates from outlets, switches, and light fixtures — painting around them never looks as clean as pulling them off
- Take down curtain rods, hooks, picture hangers, and any hardware attached to the walls
- Lay drop cloths across the entire floor, including baseboards — paint drips happen even with careful technique, and floor protection is always worth the setup time
- Cover ceiling fans and light fixtures with plastic sheeting if they cannot be removed
A room that’s properly cleared and protected moves faster and finishes cleaner than one where the crew is working around obstacles.
Inspect and Repair the Walls Before Anything Else
This is the step most homeowners underestimate — and the one that makes the biggest difference in the finished result. Paint does not hide wall imperfections. In most cases, it highlights them, especially with satin or semi-gloss finishes where light reflection makes every bump and crack more visible.
- Fill nail holes and small dents with lightweight spackling compound, let it dry completely, and sand smooth
- For larger holes or damaged sections, apply joint compound in thin layers, allowing each coat to dry before adding the next
- Sand repaired areas until they’re flush with the surrounding wall — any raised edge will show under paint
- Address any cracks at corners, along baseboards, or around window and door frames with paintable caulk before priming
- Check for water stains or smoke damage — these need to be treated with a stain-blocking primer, not just painted over, or they will bleed through the new finish
In Columbus homes with older drywall or plaster walls, this inspection stage often reveals more than expected — and taking the time to address it properly is what separates a paint job that looks professionally done from one that just looks painted.
Clean the Walls Thoroughly
Paint adhesion depends on a clean surface. Dust, grease, and residue from everyday living create a barrier between the wall and the paint that leads to peeling and poor coverage — even with quality paint and primer.
- Wipe down all wall surfaces with a damp sponge or cloth to remove dust and loose debris
- In kitchens, clean walls with a degreaser before painting — grease buildup near cooking surfaces is one of the most common adhesion problems in residential painting
- In bathrooms, address any mildew or mold with an appropriate cleaner before priming — painting over mildew seals it temporarily but doesn’t stop it from returning through the new finish
- Allow walls to dry completely before moving to the next step — painting over damp surfaces causes adhesion failure and trapping moisture behind the paint film
Sand for a Smooth, Paint-Ready Surface
Sanding is the step that gives a paint job its final feel — the difference between a surface that looks smooth and one that actually is.
- Lightly sand the entire wall surface with fine-grit sandpaper to scuff the existing finish and improve adhesion for the new coat
- Sand all repaired areas until they’re completely flush and smooth to the touch
- After sanding, wipe down the walls with a tack cloth or damp rag to remove all dust — sanding dust left on the wall will mix into the paint and create a gritty texture in the finished surface
- Pay extra attention to areas around trim, corners, and ceiling lines where texture changes are most visible
Prime Before You Paint
Primer is not optional — it’s the foundation that determines how evenly the topcoat applies and how long it lasts. Skipping primer is one of the most common shortcuts that leads to uneven color, poor coverage, and paint that begins to fail earlier than it should.
- Use a quality primer on all repaired areas at minimum — bare drywall and spackle absorb paint differently than an existing painted surface, which causes uneven sheen and color variation
- Apply a full coat of primer across the entire room when changing from a dark color to a lighter one, or when painting a surface that hasn’t been painted in years
- Use a stain-blocking primer on any areas with water stains, smoke damage, or marker that didn’t come off during cleaning
- Allow primer to dry fully before applying the topcoat — applying paint over wet primer leads to lifting and an uneven finish
Tape Clean, Straight Lines
Painter’s tape is only as effective as how it’s applied. Tape that’s rushed or not properly pressed down allows paint to bleed underneath, which defeats the purpose entirely.
- Apply painter’s tape along ceiling lines, baseboards, trim, and any surfaces adjacent to the painted area
- Press the tape edge down firmly with a putty knife or your fingernail to seal it against the wall — this prevents bleed-through
- Remove tape while the paint is still slightly wet, not after it has dried completely — dried paint can peel away from the wall when tape is pulled if the bond has set too firmly
- For very straight lines along ceilings or trim, a steady hand with a quality brush can sometimes produce a cleaner result than tape alone — a technique experienced painters develop over time
Leave the Prep to the Professionals
Proper room preparation takes time, attention to detail, and the right materials at every step. When it’s done correctly, the paint goes on evenly, covers fully, and holds up through years of everyday life in a Columbus home. When it’s rushed, even the best paint in the best color won’t look the way it should.
At Beltran Tiles LLC, we handle every stage of interior painting — from wall repair and priming through final coat and cleanup — for homeowners throughout Columbus, OH and the surrounding areas. Whether you’re refreshing a single room or repainting an entire home, we bring the same standard of preparation to every project.
Ready for a paint job done right? Contact Beltran Tiles LLC today for a free painting consultation and estimate in Columbus, OH.
Share it :
Transform your home with expert craftsmanship
Upgrade your space with high-quality residential remodeling services in Columbus, OH. From tile installation to complete home improvements, Beltran Tiles LLC delivers precision, durability, and results you can trust.

Beltran Tiles LLC provides reliable residential remodeling services in Columbus, OH and surrounding areas. With over 23 years of experience, we deliver quality craftsmanship you can trust.
Contact
- Columbus, OH
- 40 Miles Of Coverage
- davidbeltran614@gmail.com
- info@beltrantiles.com
- (614) 517-6763
Info
- Monday to Saturday 8:00 AM - 6:00 PM
- By appointment only
- 24/7 Emergency Service
- +23 Years of Experience
- Residential Services Only
- Licensed & Insured
- Cash, Check & Zelle
- English and Spanish spoken